What You'll Learn
Learn how to install and run Automatic1111's Stable Diffusion Web UI on your M1/M2 Mac to generate AI images locally and privately in about 30 minutes.
Video Walkthrough
Prefer watching to reading? Follow along with a step-by-step video guide.
How to Install Automatic 1111 Stable Diffusion Web UI on MacOS M1/M2
Automatic 1111’s Web UI is a great way to run Stable Diffusion and create free AI images on your own computer in a private environment. This tutorial will walk you through how to set up this application so you can begin generating images.
Notes:
- Estimated Time to Complete: 30 minutes
- Repository: Automatic 1111 Stable Diffusion Web UI
- Official Installation Notes: Installation Notes (as provided by Automatic 1111)
Prerequisites:
- A Mac with an Apple Silicon chip (M1/M2).
- Basic knowledge of terminal commands.
- Plus, a little creativity for creating some Stable Diffusion prompts 🙂
Before we dive in, I also did a YouTube video of this process if you are more of a visual learner:
Step 1: Installing Homebrew
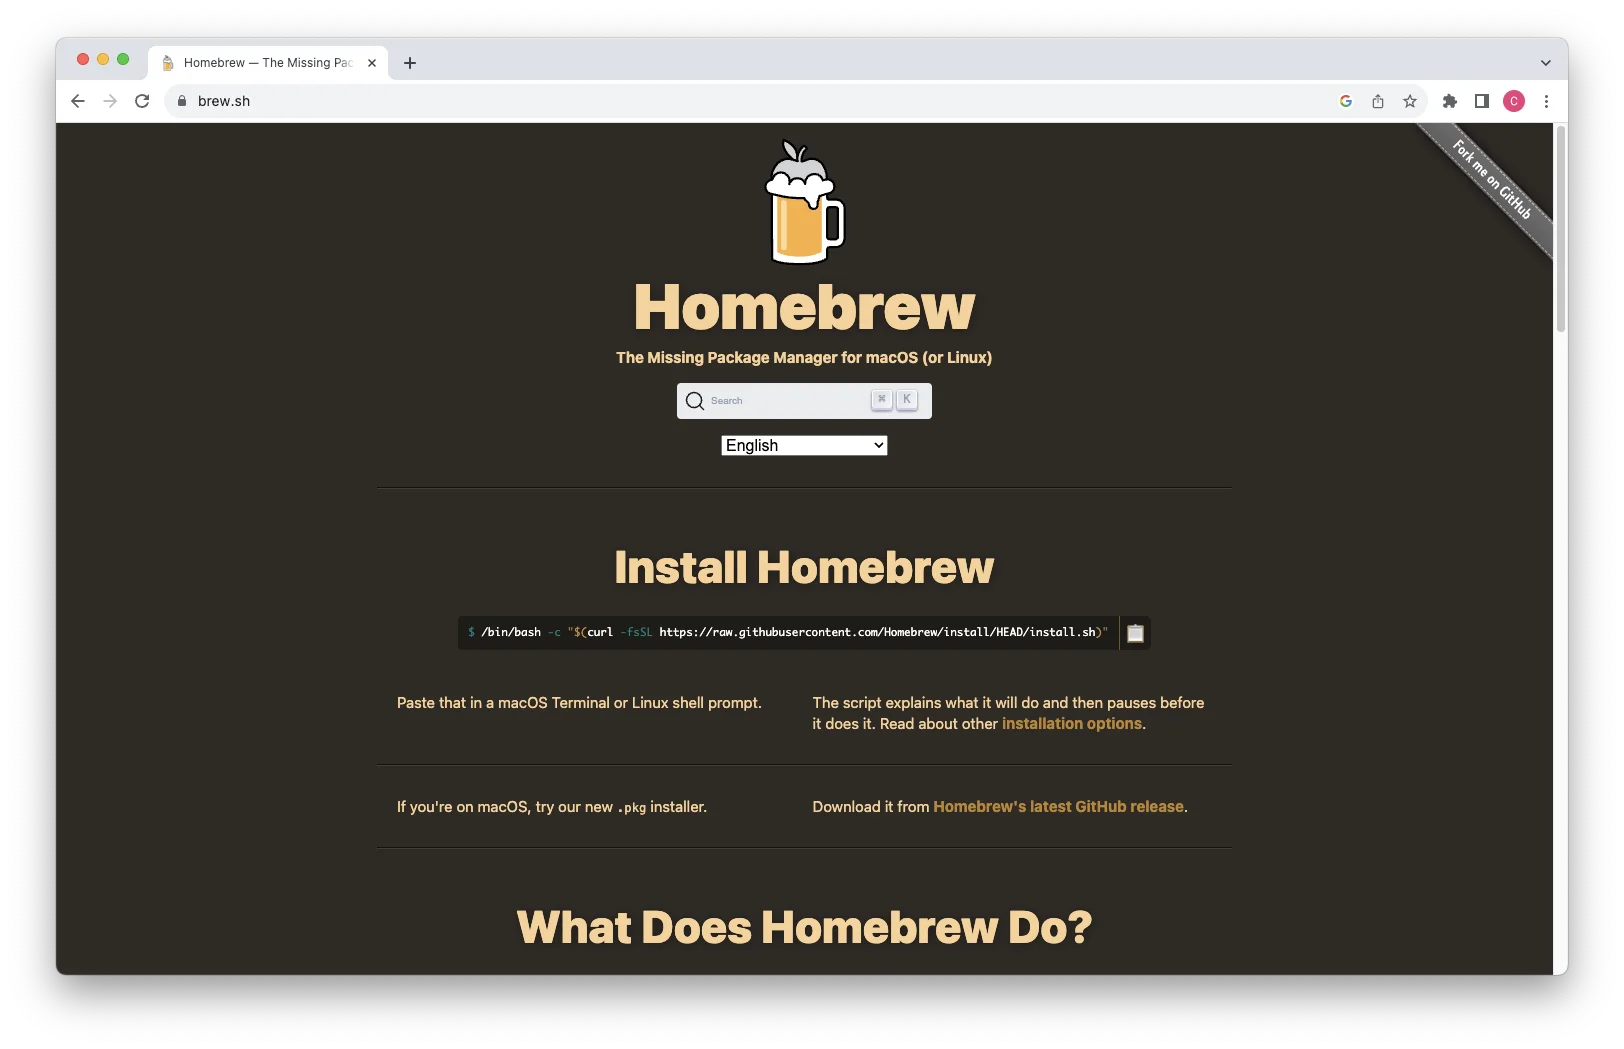
First, you’ll need to have Homebrew installed on your machine. Homebrew is a package manager for macOS that simplifies the installation of software. To add Homebrew to your machine, visit https://brew.sh, copy the command, and paste it into the terminal on your machine.
Copy the installation command and paste it into your terminal
/bin/bash -c "$(curl -fsSL https://raw.githubusercontent.com/Homebrew/install/HEAD/install.sh)"
Step 2: Setting Up Homebrew Path
After installing Homebrew, you’ll need to add it to your system path. Run the following commands in your terminal:
(echo; echo'eval "$(/opt/homebrew/bin/brew shellenv)"') > /Users/YOURHOMEFOLDER/.zprofile echo 'export PATH="/opt/homebrew/bin:$PATH"' >> ~/.zshrc source ~/.zshrc
Be sure to replace YOURHOMEFOLDER with the name of your own home folder.
This will typically take just a couple of minutes to download and install the packages.
Step 3: Installing Necessary Packages
Now, let’s proceed by installing the necessary packages to run Automatic 1111 Web UI along with the Stable Diffusion models via Homebrew.
Commands to install necessary packages
brew install cmake protobuf rust python@3.10 git wget
If you had Homebrew installed previously, you might need to run a brew upgrade command to get the latest updates for these packages.
Step 4: Cloning Web UI Repository
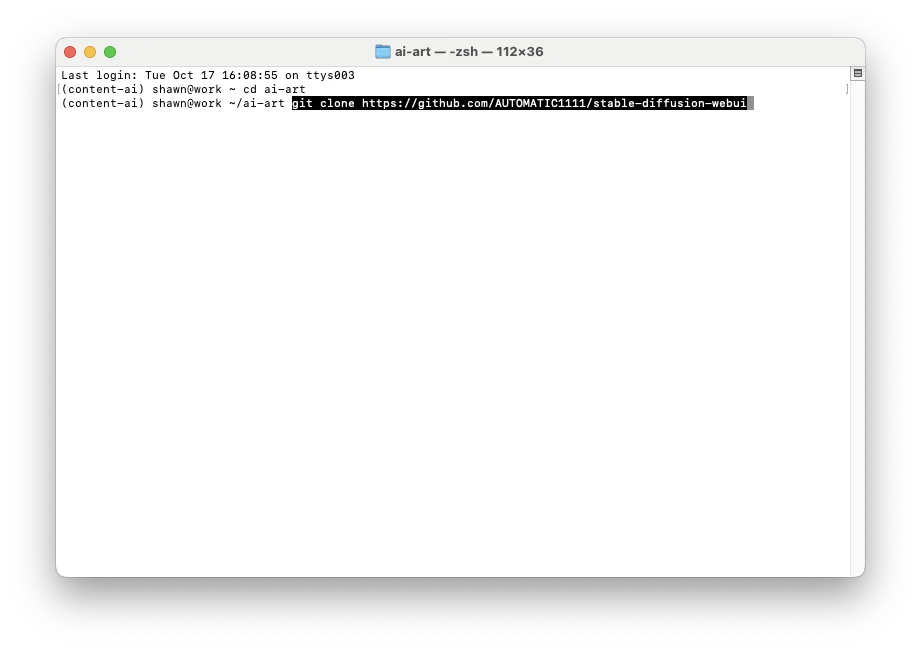
Now, it’s time to clone the Automatic 1111 Web UI repository from GitHub.
Navigate to your desired directory
cd
example could be /ai-art/
Clone the Automatic 1111 Stable Diffusion Web UI repository
git clone https://github.com/AUTOMATIC1111/stable-diffusion-webui
Step 5: Downloading Checkpoints
Proceed by downloading the Stable Diffusion checkpoints. In this tutorial, we’ll use model 1.5, but feel free to explore other models as per your requirement.
Visit Hugging Face to download the checkpoint.
Navigate to the model download page and download your preferred model
open
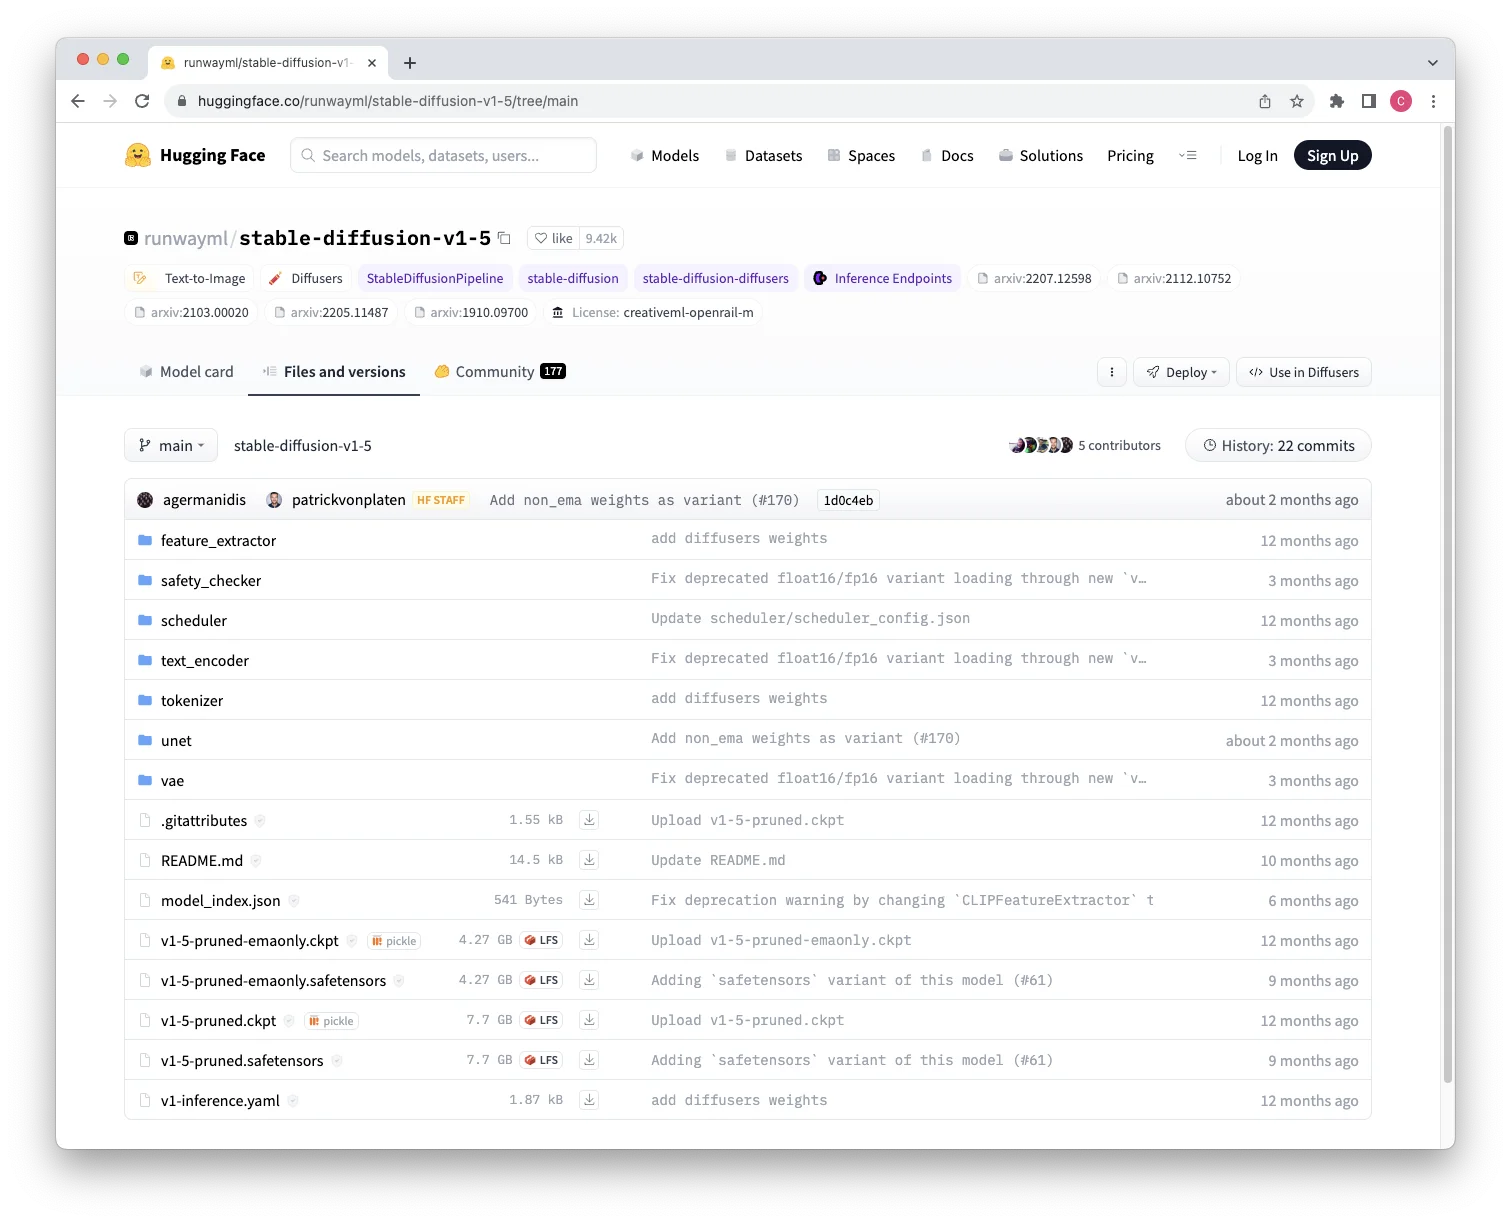 Note: You should download the .safetensors files when possible as they are safer.
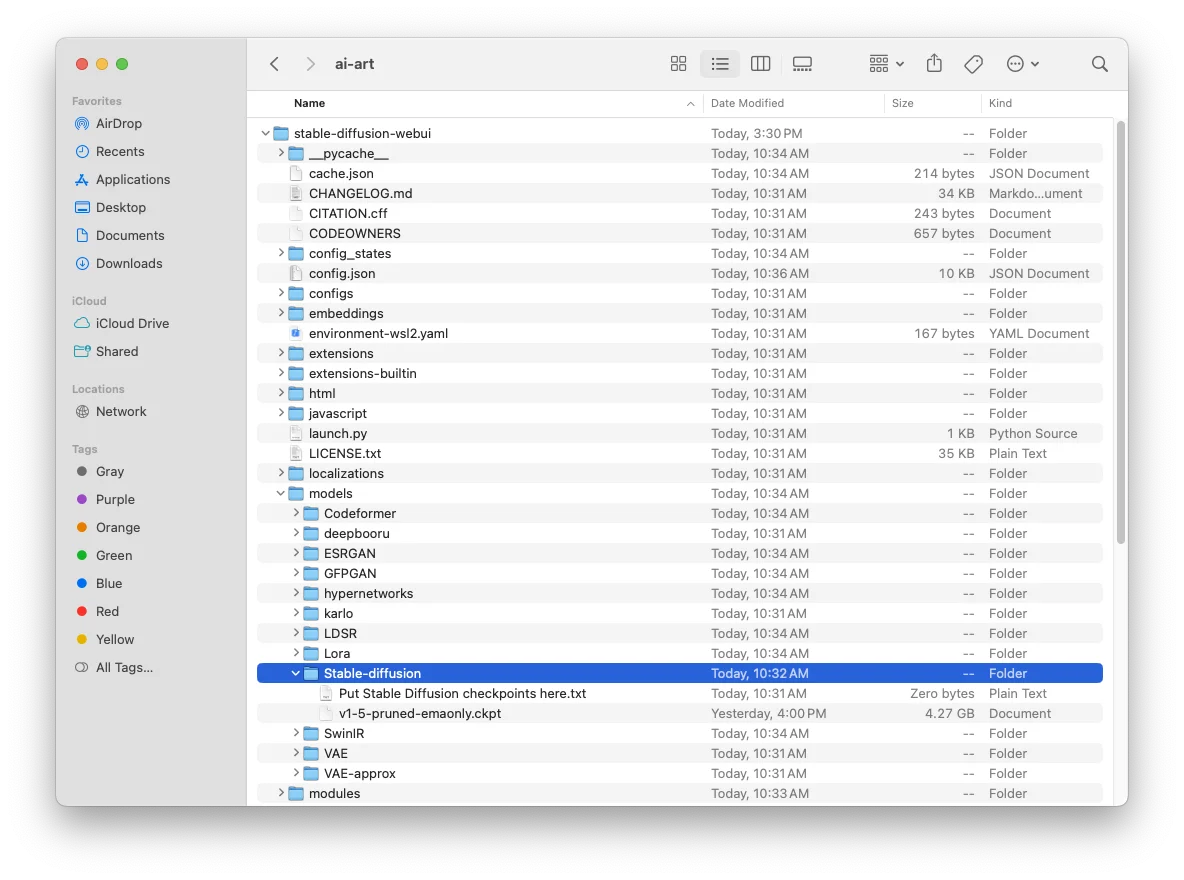
Step 6: Installing Checkpoints
Now, install the downloaded checkpoint to the Stable Diffusion directory.
Navigate to the models directory in Stable Diffusion
cd
Step 7: Launching Web UI
It’s time to launch Web UI on your machine. Navigate back to the root Web UI directory (in our example this would be /ai-art/stable-diffusion-webui) and run the following command:
./web_ui.sh
 In case of any errors, you might need to restart Web UI with the
 --no-half flag to resolve the issue:
./web_ui.sh --no-half
We’re unsure if this is a bug in the current release of Automatic 1111’s Web UI or if it is specific to MacOS.
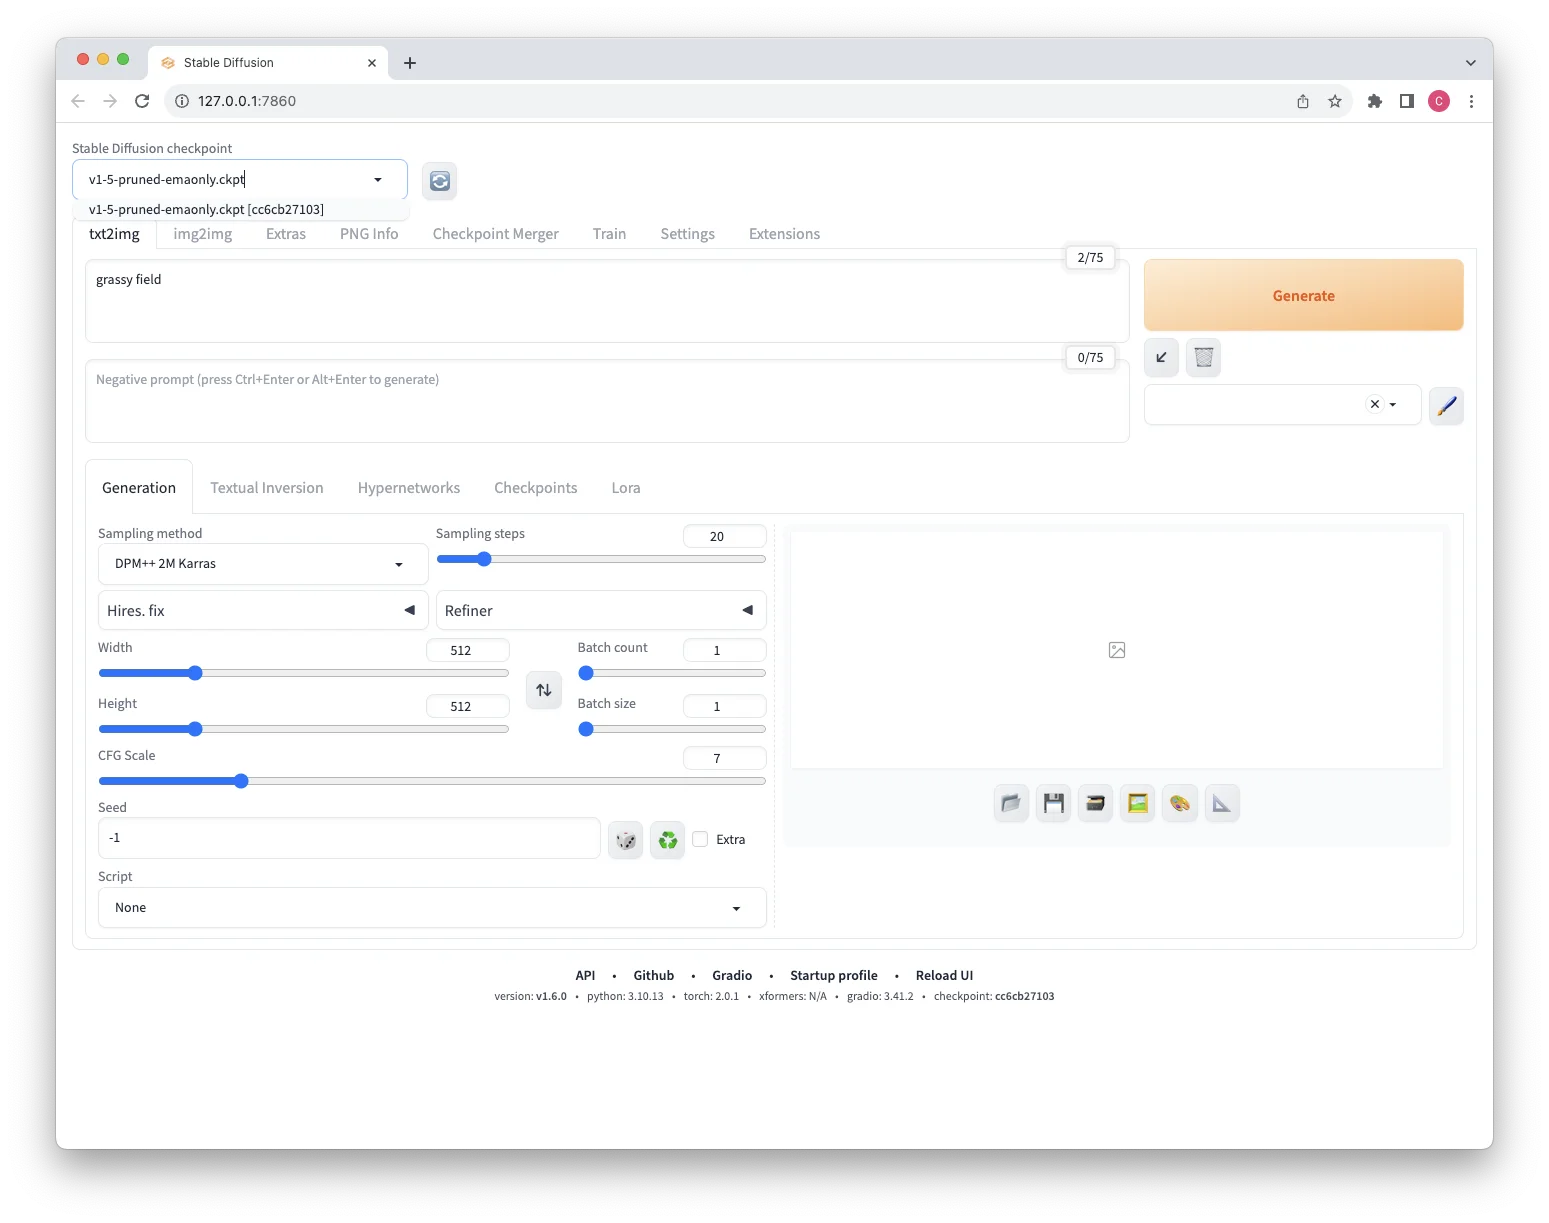
Step 8: Generating Your First Image
With Web UI now running, go ahead and generate your first image. Select the downloaded checkpoint, input a prompt such as “grassy field”, and click ‘generate’:
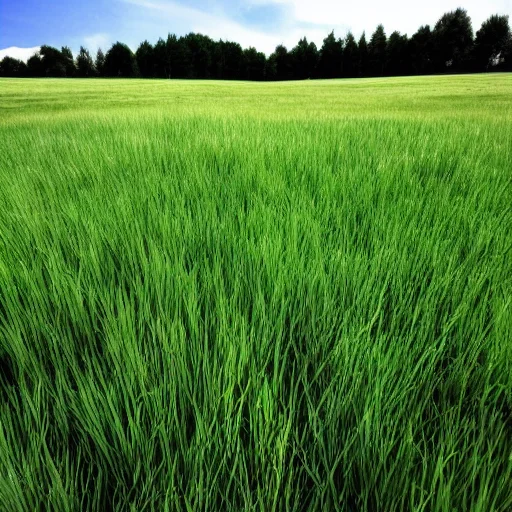
 You’ll have a beautiful, or perhaps not so beautiful, AI-generated picture of a grassy field:
Step 9: Keeping Web UI Up to Date
Automatic 1111 releases regular updates to fix bugs or introduce new features. Ensure your installation is up-to-date by pulling the latest releases from GitHub.
Navigate to the Web UI directory
cd
Pull the latest updates
git pull
That’s it! You now have a way to generate images with Stable Diffusion on your Mac. Explore, generate intriguing images, and dive deeper into the world of machine learning-based image generation. Feel free to drop any queries in the comments below!
Thank you for following along with this tutorial. Happy image generating!
Want More AI Image Tutorials?
Get the best AI image tutorials and tool reviews—no spam, just 1 or 2 helpful emails a month.
Continue Learning
More Automatic 1111 / Forge Tutorials
Explore additional tutorials in the Automatic 1111 / Forge category.
View All Tutorials